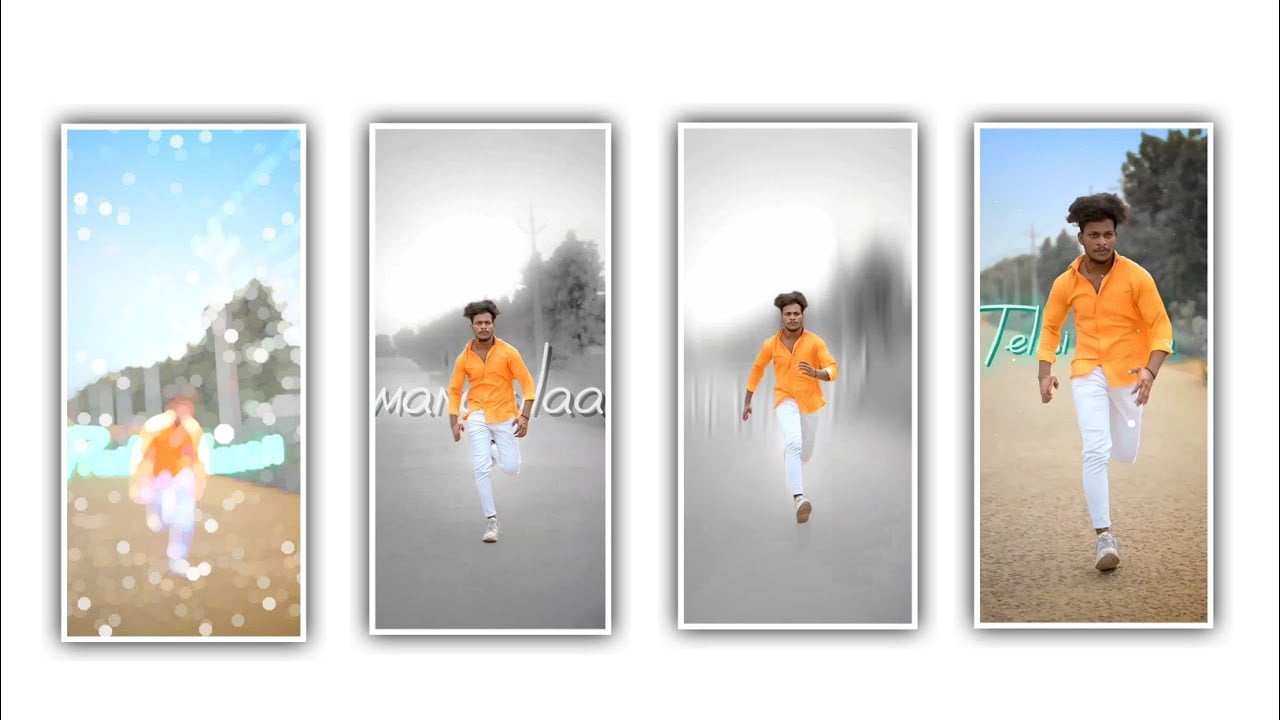
Hi friends in this project we are explaining the trending and beautiful lyrical video editing by using the kinemaster application because this the best application to create and to edit the project to process for beginners and there are so many simple animation that you can add to the project and you can observe the demo then you have an idea to process the editing and we will provide you the complete information in this article so please follow the instructions to understand about the editing process and now before editing this project we will provide to rhe complete template images and background particles are providing in this description so you can download through the link and be ready to design or process this editing project to edit this project firstly you need to download and open the kinemaster application and choose the option create new option and choose the project screen ratio as 9:16 and keep the photo display Mode as fill and choose the next option and you need to add the white colour image and you can extend the image layer upto 8 seconds and choose the settings symbol
And select the option project settings and you need to keep the photo duration as 0.3 seconds and add to the project and now choose the media option and you can select the images from your gallery and you can choose only high quality images and add the same in a sequential order to process the editing project and now you can add the effects to the photo for that you can extend the image layers and choose the option clip graphics and select the store symbol and choose the romantic catagory and you need to download the effects and install to the project and now come back to starting and now you can choose the photo layer and select the option pan and zoom option and you can increase the image size with using this option and now you can scroll the photo and choose option clip graphics and select the option romantic and choose the fourth animation effects to the photo and choose choose the option pan and zoom and you need to drag the image and adjust perfectly and now choose the same option of clip graphics and choose the romantic cards effect
And choose the second animation to the project and you need to adjust the image by using the option pan and zoom and adjust the image perfectly after that you can adjust all the images in the same process and you can add the animation effect by using the option romantic cards and apply to the images and you can add the colors grading effects to the project for that you can adjust the colour effects for that choose the option adjustment and keep the brightness as 0% and select the contrast option as 0% and you can increase the option saturation as +29 and now you can apply to the images then the quality will be increased and now choose the option layer and select the images and you can add the text to the project and you can edit the text by using alight motion application and there are easy to edit the white layer lyrics to apply to the project and now keep the white line in 8 seconds and now choose the option lyrics and you can choose the sessor symbol and choose the option and trim the right side part
And now choose the choose the option extract audio and now you need to delete the second video and then you can extract the audio from the video and add to the project. And now come back to starting and choose the layer option and select the colour layered image and you can extend the image upto 30 seconds and now you can observe the colour varient you can choose the colour shadow and choose the colour adjustment for that you need to do some adjustments and select the option HUE with increase and select the +8% to the project and now apply the colour adjustment and I will provide you the black particles video and now choose the option audio and remove the sound of the particles video and you can choose the option mute and apply to the project and now choose the option croma key and you need to decrease the colour adjustment to the photo and you can add the colour adjustment and the love particles and now choose the option HUE option and you need to increase the process after that you can observe the colour particles to the project.
And now you need to choose the option layer and you need to add the second lyric to the project and now extend the project upto 30 seconds and come back to starting and now choose the photos and particles video and you can add the perfect adjustment to process the complete editing after that process you need to export the project with high quality then you can understand the complete editing process and you can save the project with high quality resolution so hope you guys will understand the complete editing process so please support our website and then you can understand the basic information and you need to create the same editing project with different photos and apply to the project. So we have to use this editing process for editing our project and I have provided all the particle videos used in this in the description and you can use them to design your project very beautifully and I hope you all will like this project until we come to entertain you again with some more projects so please continue your support in future thank you
kinemaster Preset
Shake effect
DOWNLOAD
Video Photo Link
DOWNLOAD
DOWNLOAD
Song link
DOWNLOAD
