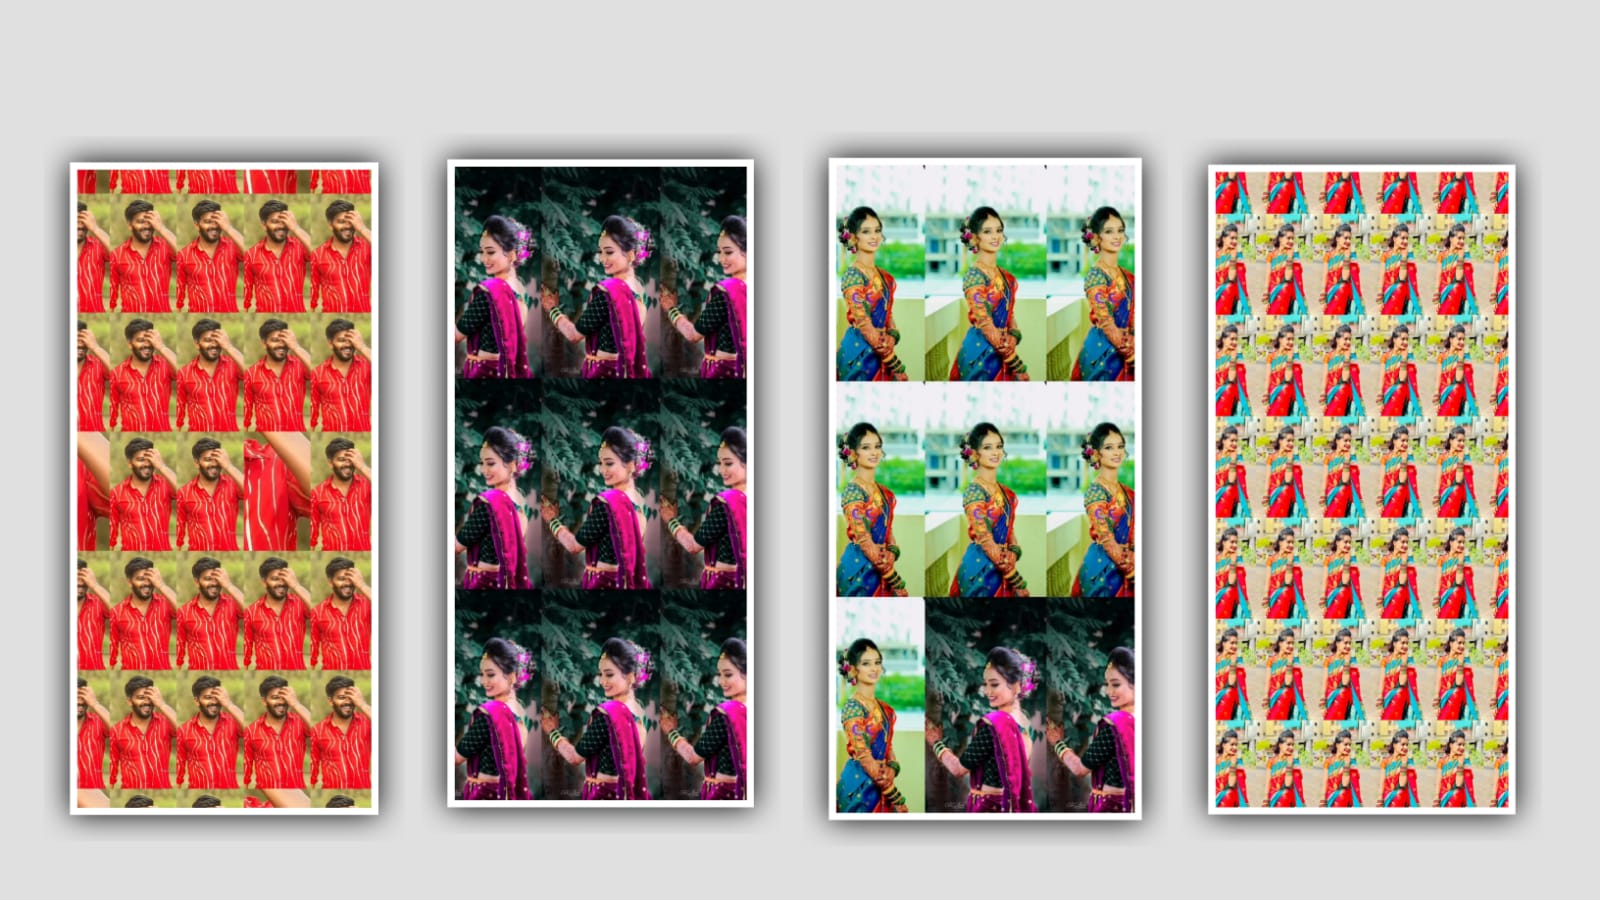
Hi friends how are you today article again many people are interested in doing attitude video editing so in this article that I am going to talk about how to create it in two applications so the first one is in alight motion and second one is kinemaster application so whoever shows interest in doing this editing process please use each and every step that I have mentioned to create it yourself also I have been provided all the particle video font and other useful materials used in this through the link in the description so please download them before you start the editing project and now firstly open alight motion application and we are already provided tge beatmark and also shake effect in our project description so you can use following editing to process firstly open the beatmark present and you can choose the five colourful layers in the project so play the project after that also you will observe five layers with different color and there is a normal beatmark and you need to adjust the photos in that colourful layers to design the editing
And now come back to starting and choose the plus icon and select the 9:16 ratio and keep the background color as white and choose the option create project to continue the editing and now you can add the photo from your gallery and now choose the photo to zoom the image and adjust the image and choose the export icon and choose the convert the frame as png and export the project and save the image into your gallery and come back to starting and choose the image layer and delete the photo and now choose the plus icon and add the another photo and you can adjust the same with your fingertips properly and now choose the export icon and select the option current frame as png and apply to the project to process and save the image into your gallery after that you can choose the same photo and delete tge photo to add another photo from your gallery by choosing media option and you can adjust the images in full screen and save the minimum ten imaged to process this editing
And now come back to starting and choose the beatmark project and select the starting and there are five colors and add the fove layers and add five different photo to edit this project now choose the first layer and select the option colour and feild and tap on the image name and you can adjust the photo perfectly to process the editing and click the second layer and choose the colour and feild option and add another photo from your gallery to process the editing do you can add the each and every photo by using the colour and feild option and add to process the editing and now you can add five photos and same way to add ten the photos to process the editing and now keep the redmark in 5.12 seconds and choose the first photo and increase the size of the photo and keep the option to process the editing and now you can add the another photo to process and choose the photo and now select the normal photos to process the editing
And now you need to add the shake effects to the photo for that we are already provide you the shake effect in our project description so download through the link and you can open the shake effect and there is only one photo and tap on it and choose the option efforts and click on left side 3 dots and copy the efforts from the photo and come back to the beat mark project and click on the first photo and choose the option effects and select three dots to paste the copied effect into the photo to process the editing
in this way you have to apply this animation effect to the last five photos that you have added to process the editing and now play the project then you can observe all the five images will have same effect now the project as we have edited is completely edited so click on the export icon shown above and export your project in high quality
now I am going to tell you how to edit the same process in Kinemaster applications and first open the Kinemaster application to process the editing
Once you open it then you will be asked for screen ratio in the interface select it to add it to the project and select the screen ratio so automatically the photo will be converted to that ratio and then you save the image in this way you have to save up to ten images and then you have to download the full project because I have provided a link for this in the description so you download and tap on it will open automatically after opening and you will see photos there you have to add the photos you want to edit in that place so you tap on the photos that appear first and replace them click on the option and zoom your image
then I will give you articles video in this project description so you import it in this project and you also make it full screen then go to blending option and select screen option your project is complete after that observe the project completely and then click on the export icon and export your project I think you all like this project and I hope you will definitely try this project thank you
Template Link
DOWNLOAD
Music Link
