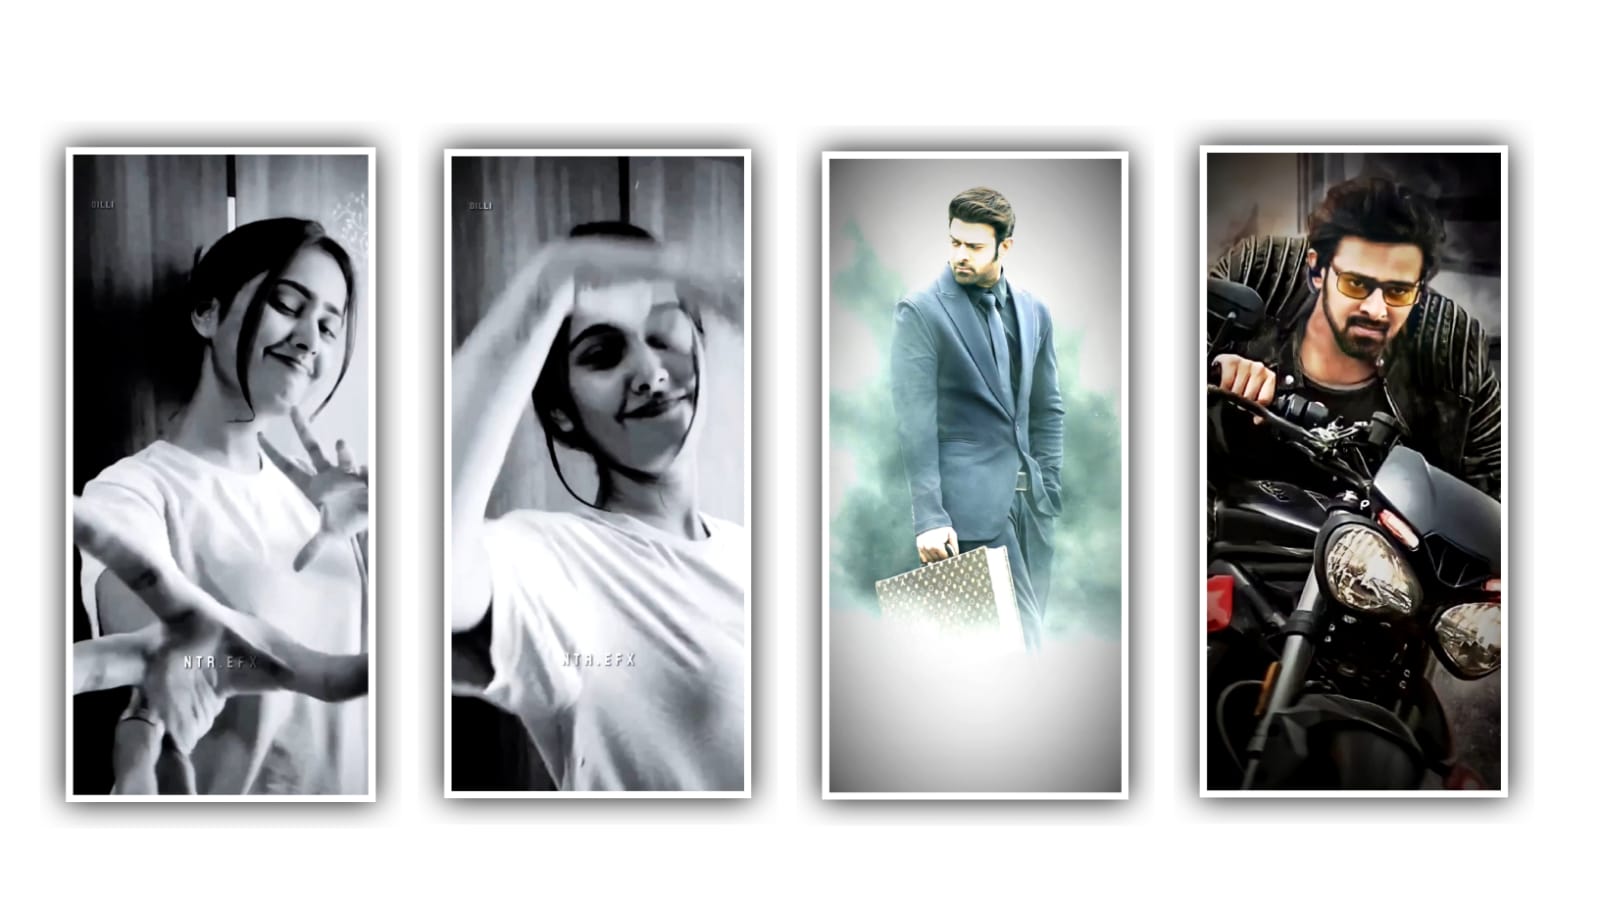
Hi friends in this article we are explaining the best attitude lyrical video editing can be explained. So please follow the instructions to understand the editing process of the best quality of this project. To edit this editing project you need to use Alight Motion application and we are explaining. The trending lyrical project in Instagram. Now you can simply open Alight Motion application and click on plus icon for choosing the ratio. background colour and frame rat and especially keep the screen ratio as 1080×2430 as default and simply click on create project for editing.
LETS START
Now the important thing for you to do is that I have given the beat mark in the description so everyone download it. Through the beat mark link and add it to your editing project and it will save you some time. Because in this already I have definitely added the song along with the lyrics and also the beat marks. Are also available to you in this project, By giving you the beat mark by the time you get that beat mark you will have to add some photos for sure. Listen as I explain the concept to you.
STEP :- 1
You have to add font to all the added lyrics, I will also give the font link in this article description, so after you download it from there and import it into the project, click on each lyric and add the font used to each lyric. After that I will explain to you about the effect because the effects used in this project. Are given in the description in the form of shake effect you can download it.
There and add it to the project because from there you can copy to paste. If not I will tell you to understand in detail. I will explain the effects of this project can be clearly which is understandable. For each and every person who are like to edit the same project with their own effects and we are explaining each and every particle in detail.
STEP :- 2
Simply click on add effects and choose the effect WIPE with standard settings and choose start as 60.3%, and keep end as 48.7%, and choose angle as 90.0%. and keep feather as 96.8%,And again choose another effect glow scan with standard settings and choose threshold as 1.00. Choose radius as 0.10%, and also choose feather as 2.00 and keep smoothing as 0.05, and keep colour as blue and keep fill as 100%. and alpha as 100%. And choose another effect auto Shake with standard settings and choose magnitude as 3%. frequency as 2.00Hz, evolution as 0.00, and keep seed as 0.00, and keep angle as 45°. and also keep slake as 100% and keep Z Shake as 0.
STEP :- 3
And again choose random jitter with standard settings and choose angle as 45°, and choose frequency as 30.0°. keep magnitude as 3%. Now we are process of adding effects so once again play the video and check if you have not done. any step after that you must export the project for that you will see the export icon above click on it it will ask you the frame rate. Export this project with quality because it. takes more time to export in high quality and the editing process you have done is very neat and clear, so it looks very attractive to you. It is my wish that everyone should learn about the editing process by watching this article and learn the editing process completely. and by learning such editing process you will have the opportunity to edit yourself as you want.
I will come to you with another good editing project in the next article. so till then please visit my website and thank you to everyone who helped me. video process complete thanks for visit Venky Creations website
Cap cut templates
DOWNLOAD
VIDEO LINK
DOWNLOAD
