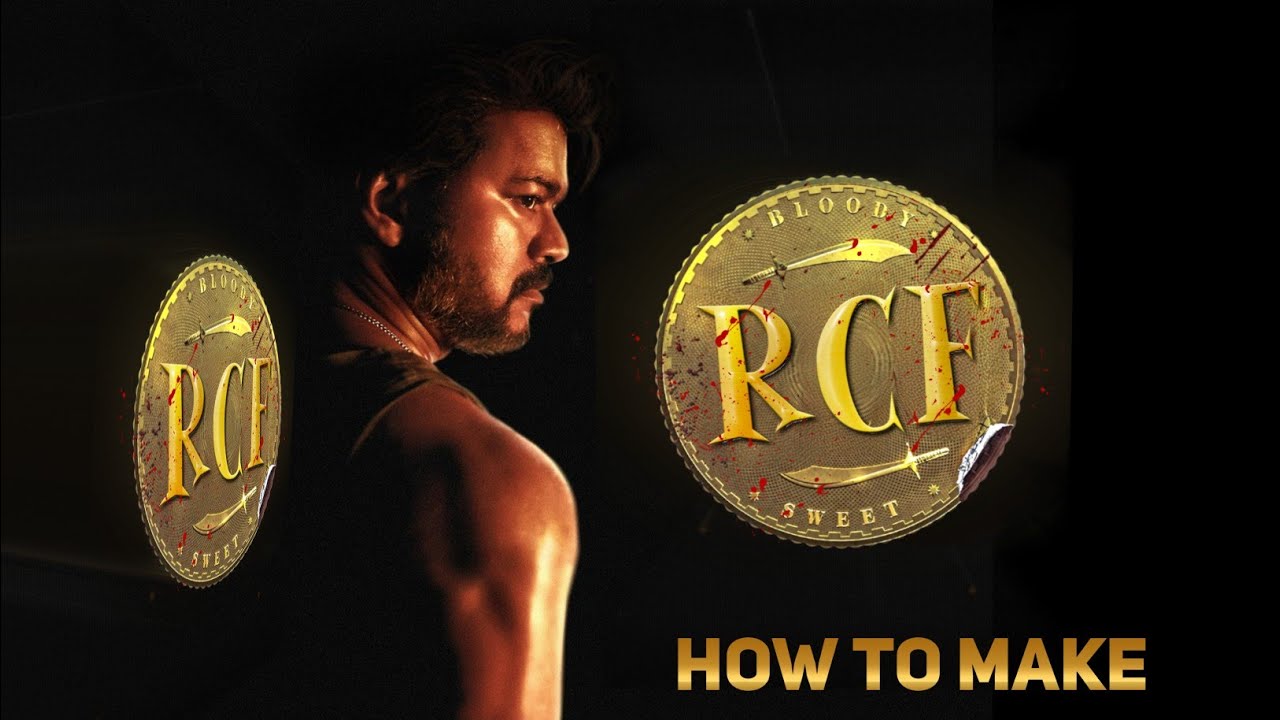
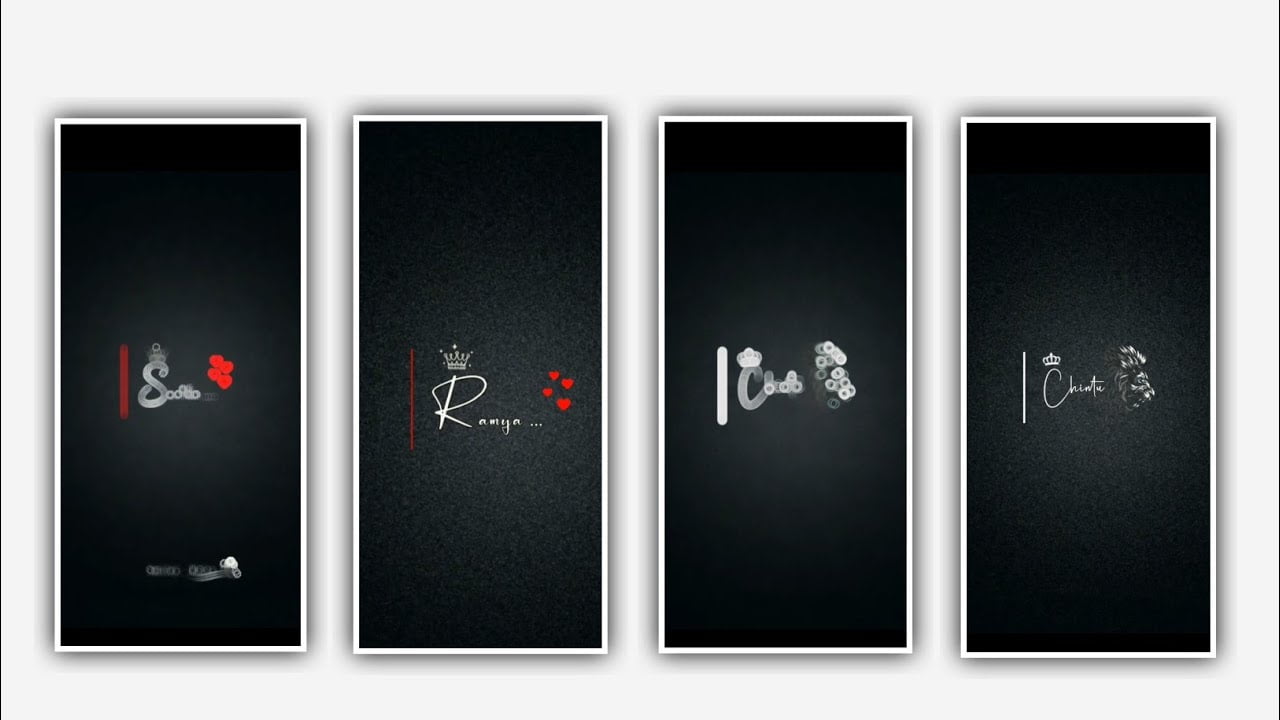
Hi friends how are you today I am going to tell you about an amazing editing process so please watch till the end of this article and know the editing process completely because in this editing you are given an animation effect that you will love in every way. I will tell you in full in editing. And you have to do this editing process, that is, the editing application you need to use is Alite Motion and open its application, click on the plus icon you see there, when you go to the next page, you will be asked for the screen ratio, click on the pencil icon next to it and type 1080×2430.
Next it will ask you for frame rate, put it in 60 fps and then there is background color, put it in black and click create project and you will enter your editing project. After you enter the projects you will see some options in which you first click on the audio option and after clicking on the audio option you will be taken directly into your editing process. After going there you have to go to your gallery and whatever song you want to edit into this project you have to add the song to this project through the plus icon. After that you have to make sure that the length of your song is only 30 seconds and delete the remaining part.
After that whatever images you have prepared for this project need to be added to this project go to image and video option go to your gallery and select the images you want to select by clicking the plus icon and they will be added one by one. Adjust and save. After that you need to add lyrics to this project. Lyrics should be ready in notepad before starting this project. Now you click on the text option and click on the edit text option and then you have to copy your lyrics from the note pad and add them to the text layer in the project.
After that, through the link that I will give you, download the font and add it to this project. After that, after you import the font into this project, you have to click on each lyric and add this font so that it looks very stylish. Now you can add the effects of this project click on add effects and choose the effect swirl with standard settings and choose center x=0, Y=0 , and choose strength as -0.085, and select radius as 0.65, and choose exposure and gamma with standard settings and choose exposure as 1.30 and gamma as 1.000, and offset as 0.00, and now choose vignette with standard settings and choose size as 113.4%, roundness as -150%, feather as 0.783, strength as 0.800, tint as 20%, and keep colour black and punch out enable.
And now choose pulse size with standard settings and choose frequency as 16.00Hz, and choose shrink as 1.000, and choose grow as 1.02, and choose starting phase as 0.00, now the effects adding of this project will be completed. Now you have to click on the export icon and export your project for that after you click on the export icon you can export this project in high quality because it takes time to download but you will get the project you made with full clarity so that you can When you want to explain to others, you can use this project to explain to them.
Likewise, exporting in high quality allows you to see your edited project with full clarity. And have you seen that I will keep informing about many more such good editing projects from time to time so all I want is to get full support from you so by giving me your valuable support I will also inform about many more such editing projects in the next article thank you.
Full project Link
DOWNLOAD
XML:- DOWNLOAD
Video photo link
DOWNLOAD
DOWNLOAD
DOWNLOAD
DOWNLOAD
DOWNLOAD
Song link
DOWNLOAD


