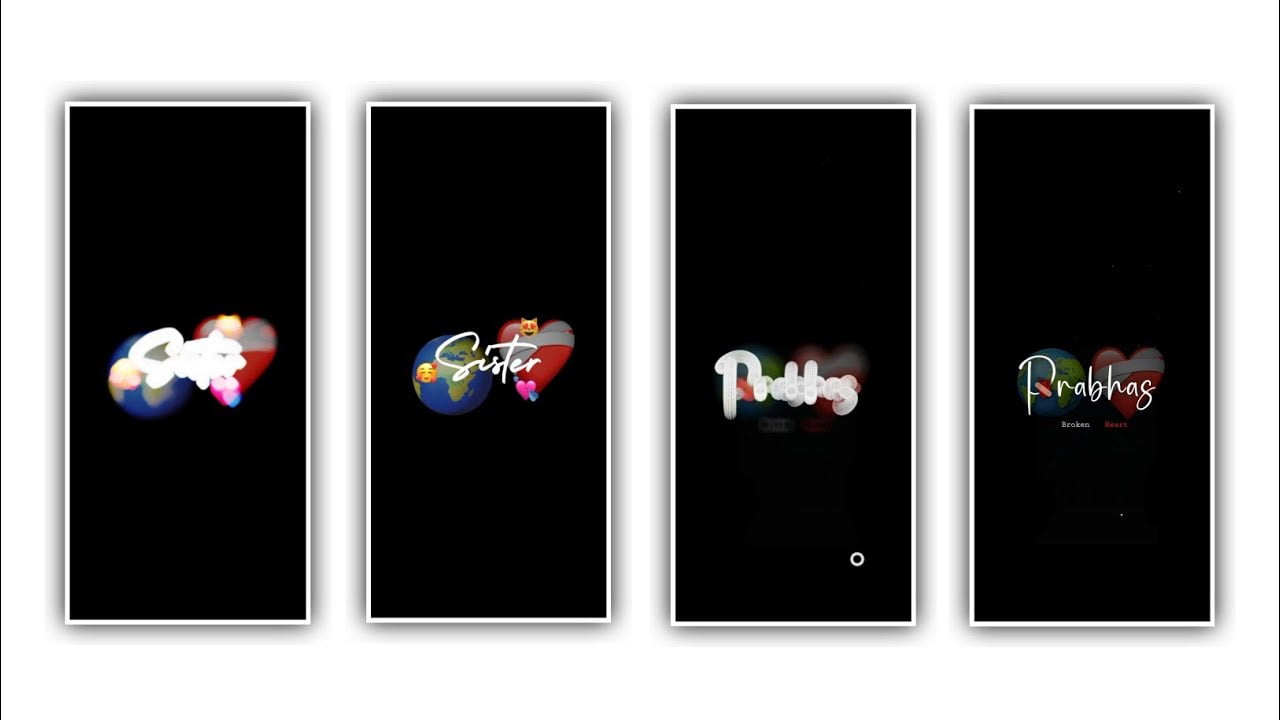
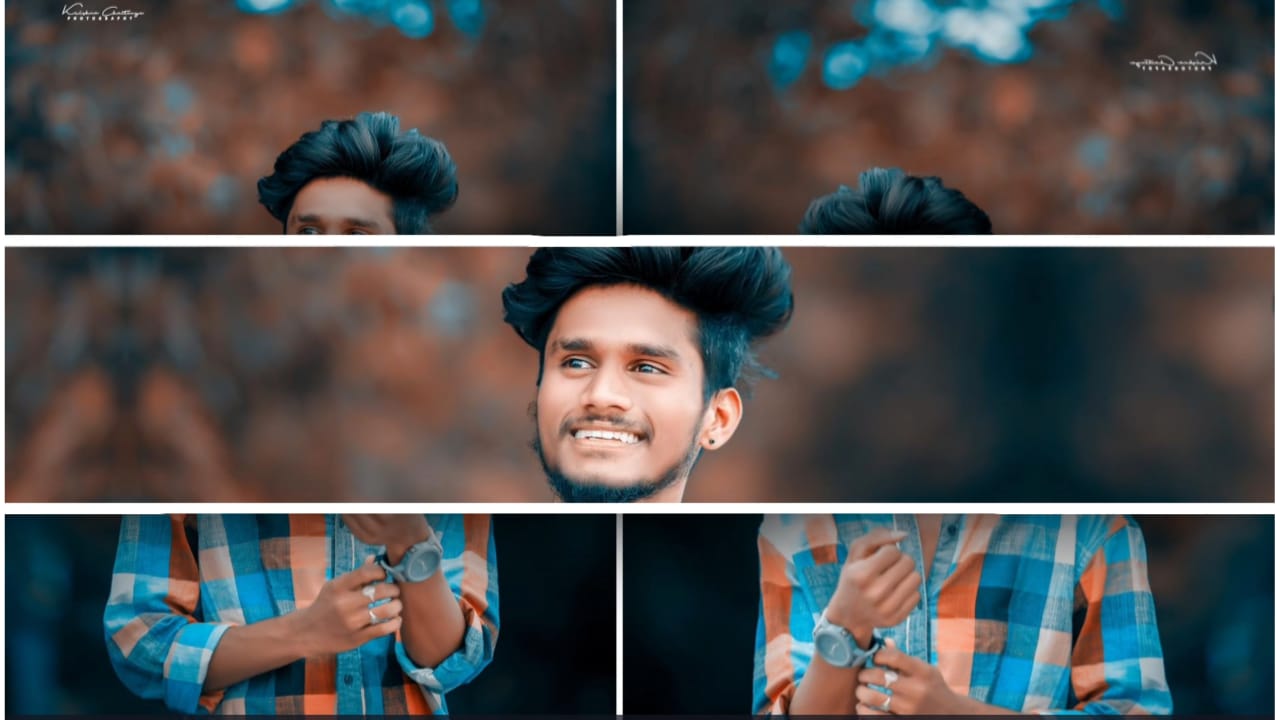
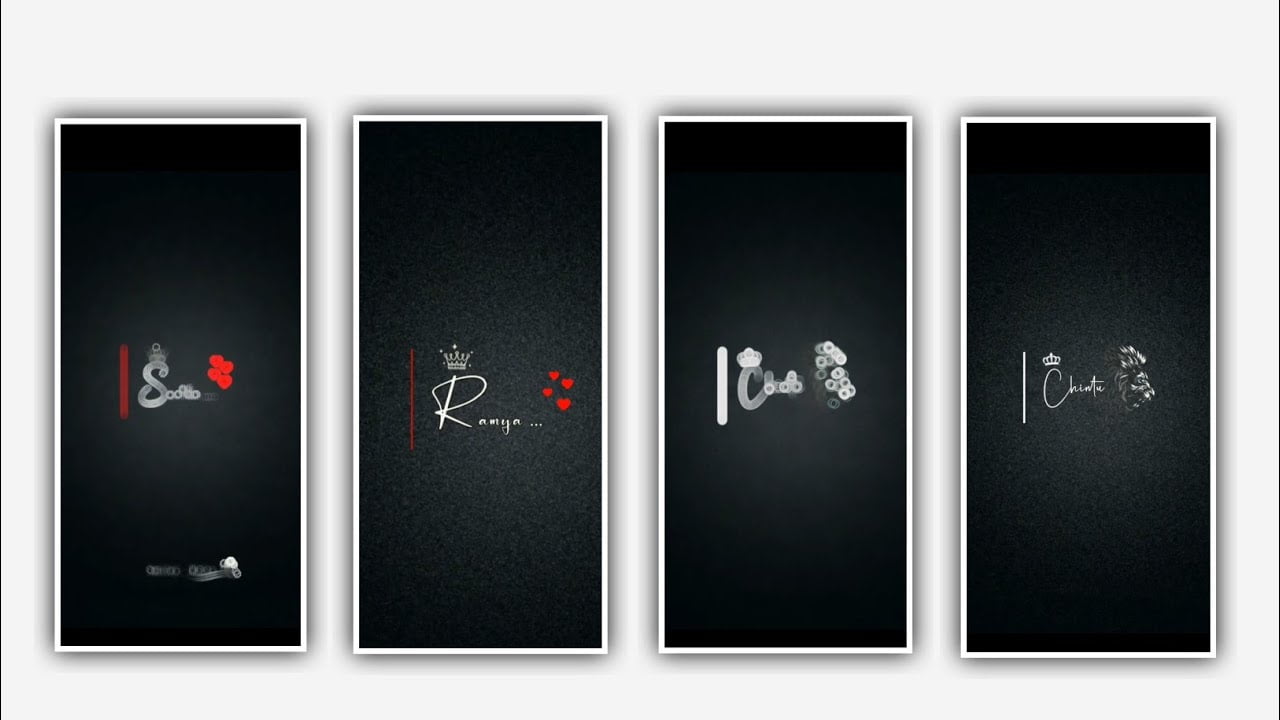
Hi friends today I am here to tell you about a good editing process as always. In this article I am going to tell you about the attitude editing process and how to edit this process. If you are visiting my channel for the first time, please read till the end of this article to know the editing process. Without further delay I will tell you how the process of this project will be, but you will have to use alight motion application to edit the process first. So you download it and keep it ready.
First you open alight motion application there you will see plus psycho by clicking on it you will see some options. Select the first one, the first one is Screen Ratio, click on it and you will see some screen ratios, if you like any screen ratio, select it, I am suggesting 9: 16 screen ratio. After that you will see the frame rate there frame rate you put 60fps. After that, you have to set the background color, always set the background color as black, then click on the create project that appears next to it and go into your editing process, and then start editing through the editing process that I will tell you. After that, if you click on the plus icon that appears there, you will see many options available to you. In that you select audio options and first select the song you want to add to your project from your gallery and click on the plus icon to add it to your project.
The length of the song you add should be only 30 seconds so if the length of the song is more than that you have to delete it. After that go to image and video and if you need to add some images, for that you will go to your gallery, where you decide to edit for this project, add the images one by one by clicking on the plus icon into this project. You have to tap the images you have added one by one and adjust each image in such a way that the adjustment is correct. After adding this, you have to add lyrics to this project, for that you have to paste the lyrics related to this project in the note pad beforehand. Now you click on the text option and click on the edit text option there you will have an empty layer open, whatever you want to add to the lyrics project from note pad you have to copy the lyrics from there and paste it into this layer . Also you have to click on the edit text option for each layer and you have to add lyrics in each layer.
Repeat this way until you have all the lyrics complete and check once you’ve added them to each one. After that I have given you the font link in the description so you can download the font link from the description and import it into the project. After importing you can add a font to each one by clicking on each lyric layer and selecting its font. By doing this your lyrics will appear in a good style Now you need to add effects to your project Click on Add such effects as I say click on add effects to choose background colour and select the option fill and keep it as 0%, and add another effect start feild with standard settings and choose position and keep X=0, Y=0, and Z=0 and select scale and keep it as 1.00, and select size as 0.0.10, and choose feather and keep it as 1.0, and now keep the color as white and choose alpha as 100%, and choose amount and keep it as 25.00, and keep brightness as s 1.000, and choose blending mode and keep screen enable.
Now the effects can be added for this project. I hope you will like this project because this project is coming out very stylishly this is an editing project so I sincerely hope you will fully understand this project through next article I will explain more cool project so please visit my website often Thanks for watching and I will inform you about the next article about the good project.
►Kinemastar Preset Link 👇
DOWNLOAD
►Full Presets LINK :-
DOWNLOAD
► Full XML file LINK :-
DOWNLOAD
► Video All photo LINK👇
DOWNLOAD
DOWNLOAD
DOWNLOAD
DOWNLOAD
► Song Download Link 🔗


