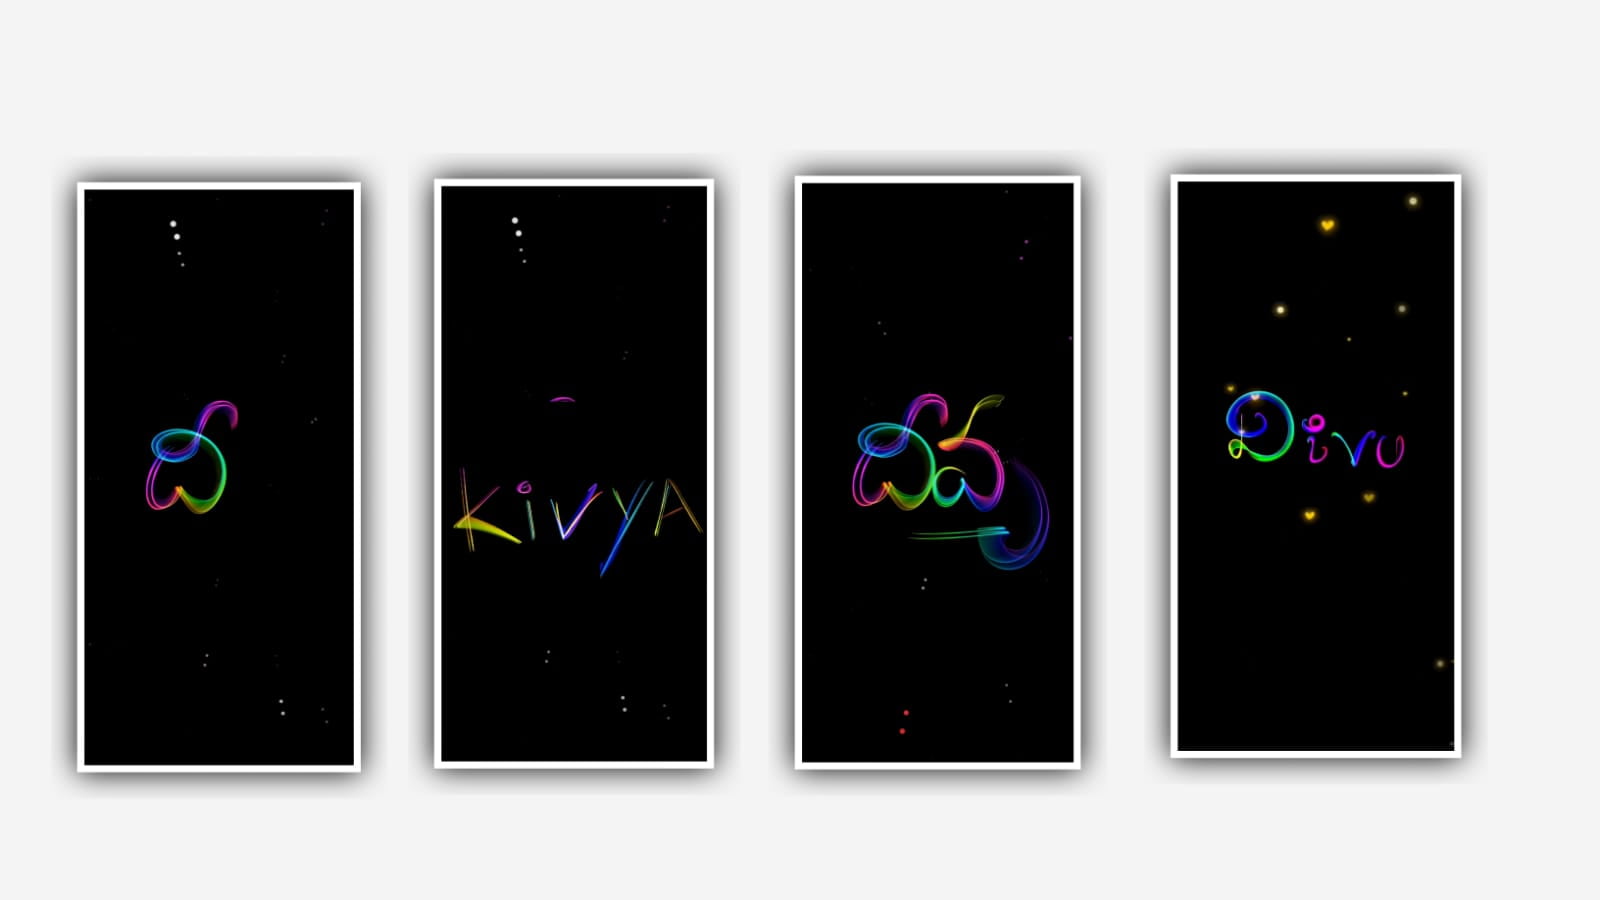
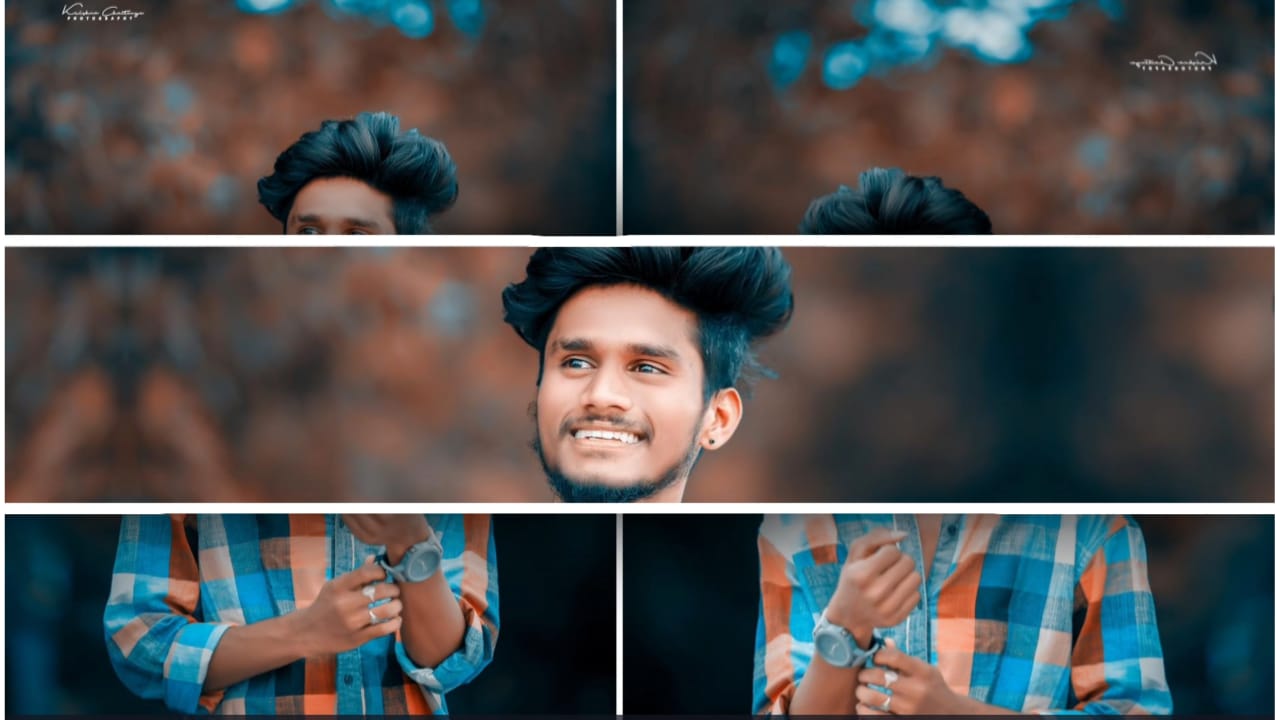
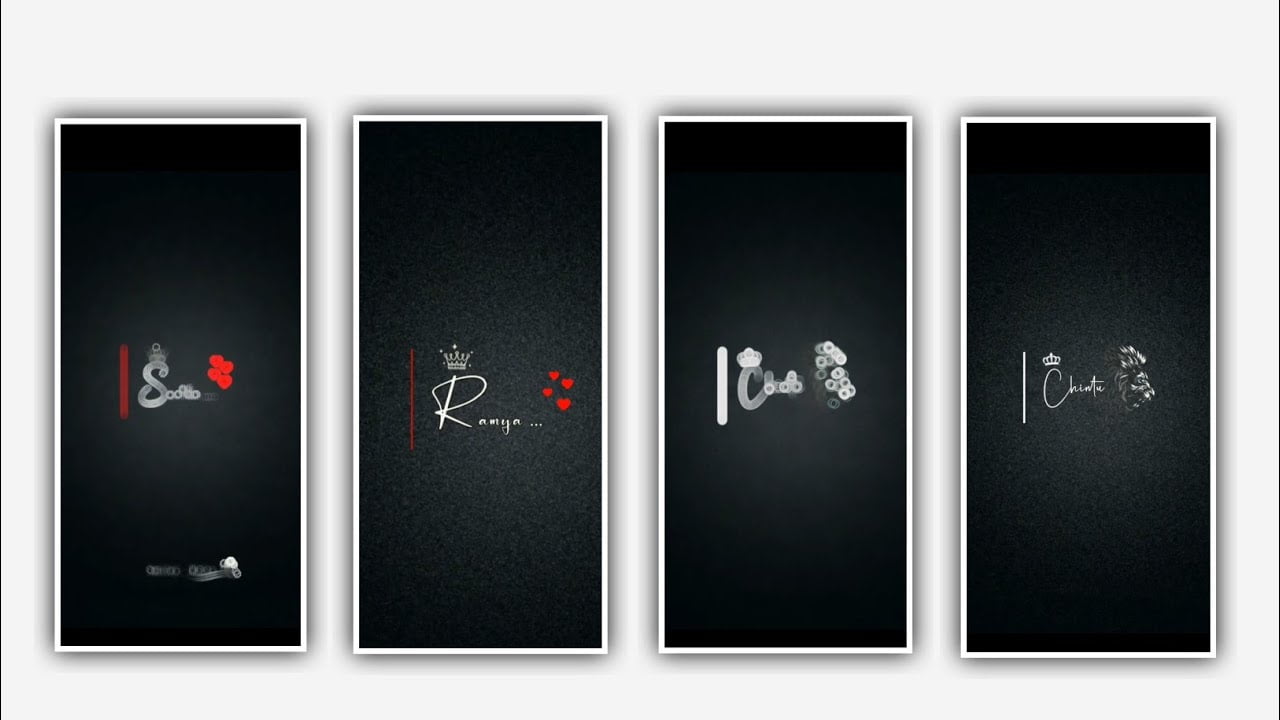
In this video I will explain about birthday banner editing it is very useful to you to create more banners by visiting this article. To edit this banner I will use for applications to edit PSCC, Lightroom application, Pixel app & fills colegue maker application. And I will give you material links in description if anyone can interested downloaded from description. After that to open in shot application and we can edit nine photos in one layout for that we can colegue the photos.
Now select the option colleague and the selected images must be in 1:1 ratio and select 9 images to the project. Click on save PNG. After open PSCC application after that click on plus icon and select photo library and add the HD pic after that click on same layer and keep it as duplicate. And select the curve and drag to up full photo will be delete and we can observe white screen after that photo library and select to circle and on add. Select the option fade tools and click on photo layer photo library and d selected pic which is edited in short application add the image to this project and click the option pencil symbol and keep the colour as Black now we can observe the photos will be in black. After that click on layer and select normal to select screen on.
And select the image to the merge down. And click on photo layer and select photo library select the design and now click on layer and select normal to layer. And select the opacity as 73%. After that click on layer symbol merge down. After that click on photo layer and photo library and now add a PNG. Now click on decrease the size after that click on add symbol and select fade tools and adjust the lines with your fingertips. After that click on down layer and photo library. And click on light PNG click on add. And now select another photo into middle after that click on layer symbol and select normal to screen after that click on layer symbol merge down after that click on photo and click on photo layer and select photo library. And now select green colour layer and click on add.
After that click on add symbol and select fade tools after that click on transform symbol click on fade. And select the images into merge down. Again click on photo layer and select photo library and add a happy birthday PNG. After that we can add the design and add in right click after that click on save option to download the image into your galary. Now we can use the Pixel app to edit further and select the layer and select the option galary and add the edited image in Lightroom and click on okay.
After that click on edit text and type the name. And now select the font capture it. And now select the colour as which is given in above PNG. And select the text and keep the option italic bold. After that click on edit option and type editing lover and also add any font and add into the photo. And add the same colour and increase the size of the text and select the save into galary. Hope you guys will like this editing process you can also try this with your own photos in birthday celebration. So guys please support us by visiting our website Thankyou for visiting.
All Meterials Links :-
Music
DOWNLOAD
Video link 👇
DOWNLOAD
App Link
DOWNLOAD


